Creating a DIY Litter Robot Cabinet can be a fun project. It adds style to your home while hiding the litter box.
Building your own cabinet for a Litter Robot can save space and keep your home tidy. Whether you have a crafty side or just love DIY projects, this guide will help you. The Litter Robot is a smart device, but it can be an eyesore.
A custom cabinet provides a neat solution. It blends with your decor and offers your cat a private space. Plus, it can include storage for litter and supplies. In this post, we’ll explore ideas and steps for making your own Litter Robot cabinet. Get ready to add a personal touch to your pet’s space!
Introduction To Litter Robot Cabinets
Custom cabinets are designed to fit your home. They can hide the litter box. This keeps your space looking clean. No more ugly litter boxes in sight. They help reduce odors too.
Custom cabinets often have special features. These can include storage for litter supplies. Everything stays in one place. This makes it easy to keep the area tidy.
A custom cabinet can match your home’s style. It can be painted or stained. This allows it to blend in with your furniture. It turns a necessity into a decor piece.
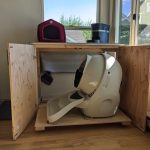
They can be built to look like other furniture. This makes them less noticeable. Guests might not even know it’s a litter box. Your home stays beautiful and functional.
Credit: www.reddit.com
Materials Needed
You will need a saw for cutting wood. A tape measure helps with accurate measurements. A drill is essential for making holes. Sandpaper smooths rough edges. A screwdriver tightens screws. Clamps hold pieces together while you work.
Plywood is a good option. It is strong and easy to cut. MDF (Medium Density Fiberboard) is smooth and cheap. Oak is durable and looks nice. Pine is soft and easy to work with. Each wood type has its benefits. Choose based on your needs and budget.
Designing Your Cabinet
First, measure your Litter Robot. Note its height, width, and depth. Make sure to leave extra space for easy access. Mark these measurements on a piece of paper. This helps you plan your cabinet size. Double-check your numbers to avoid mistakes.
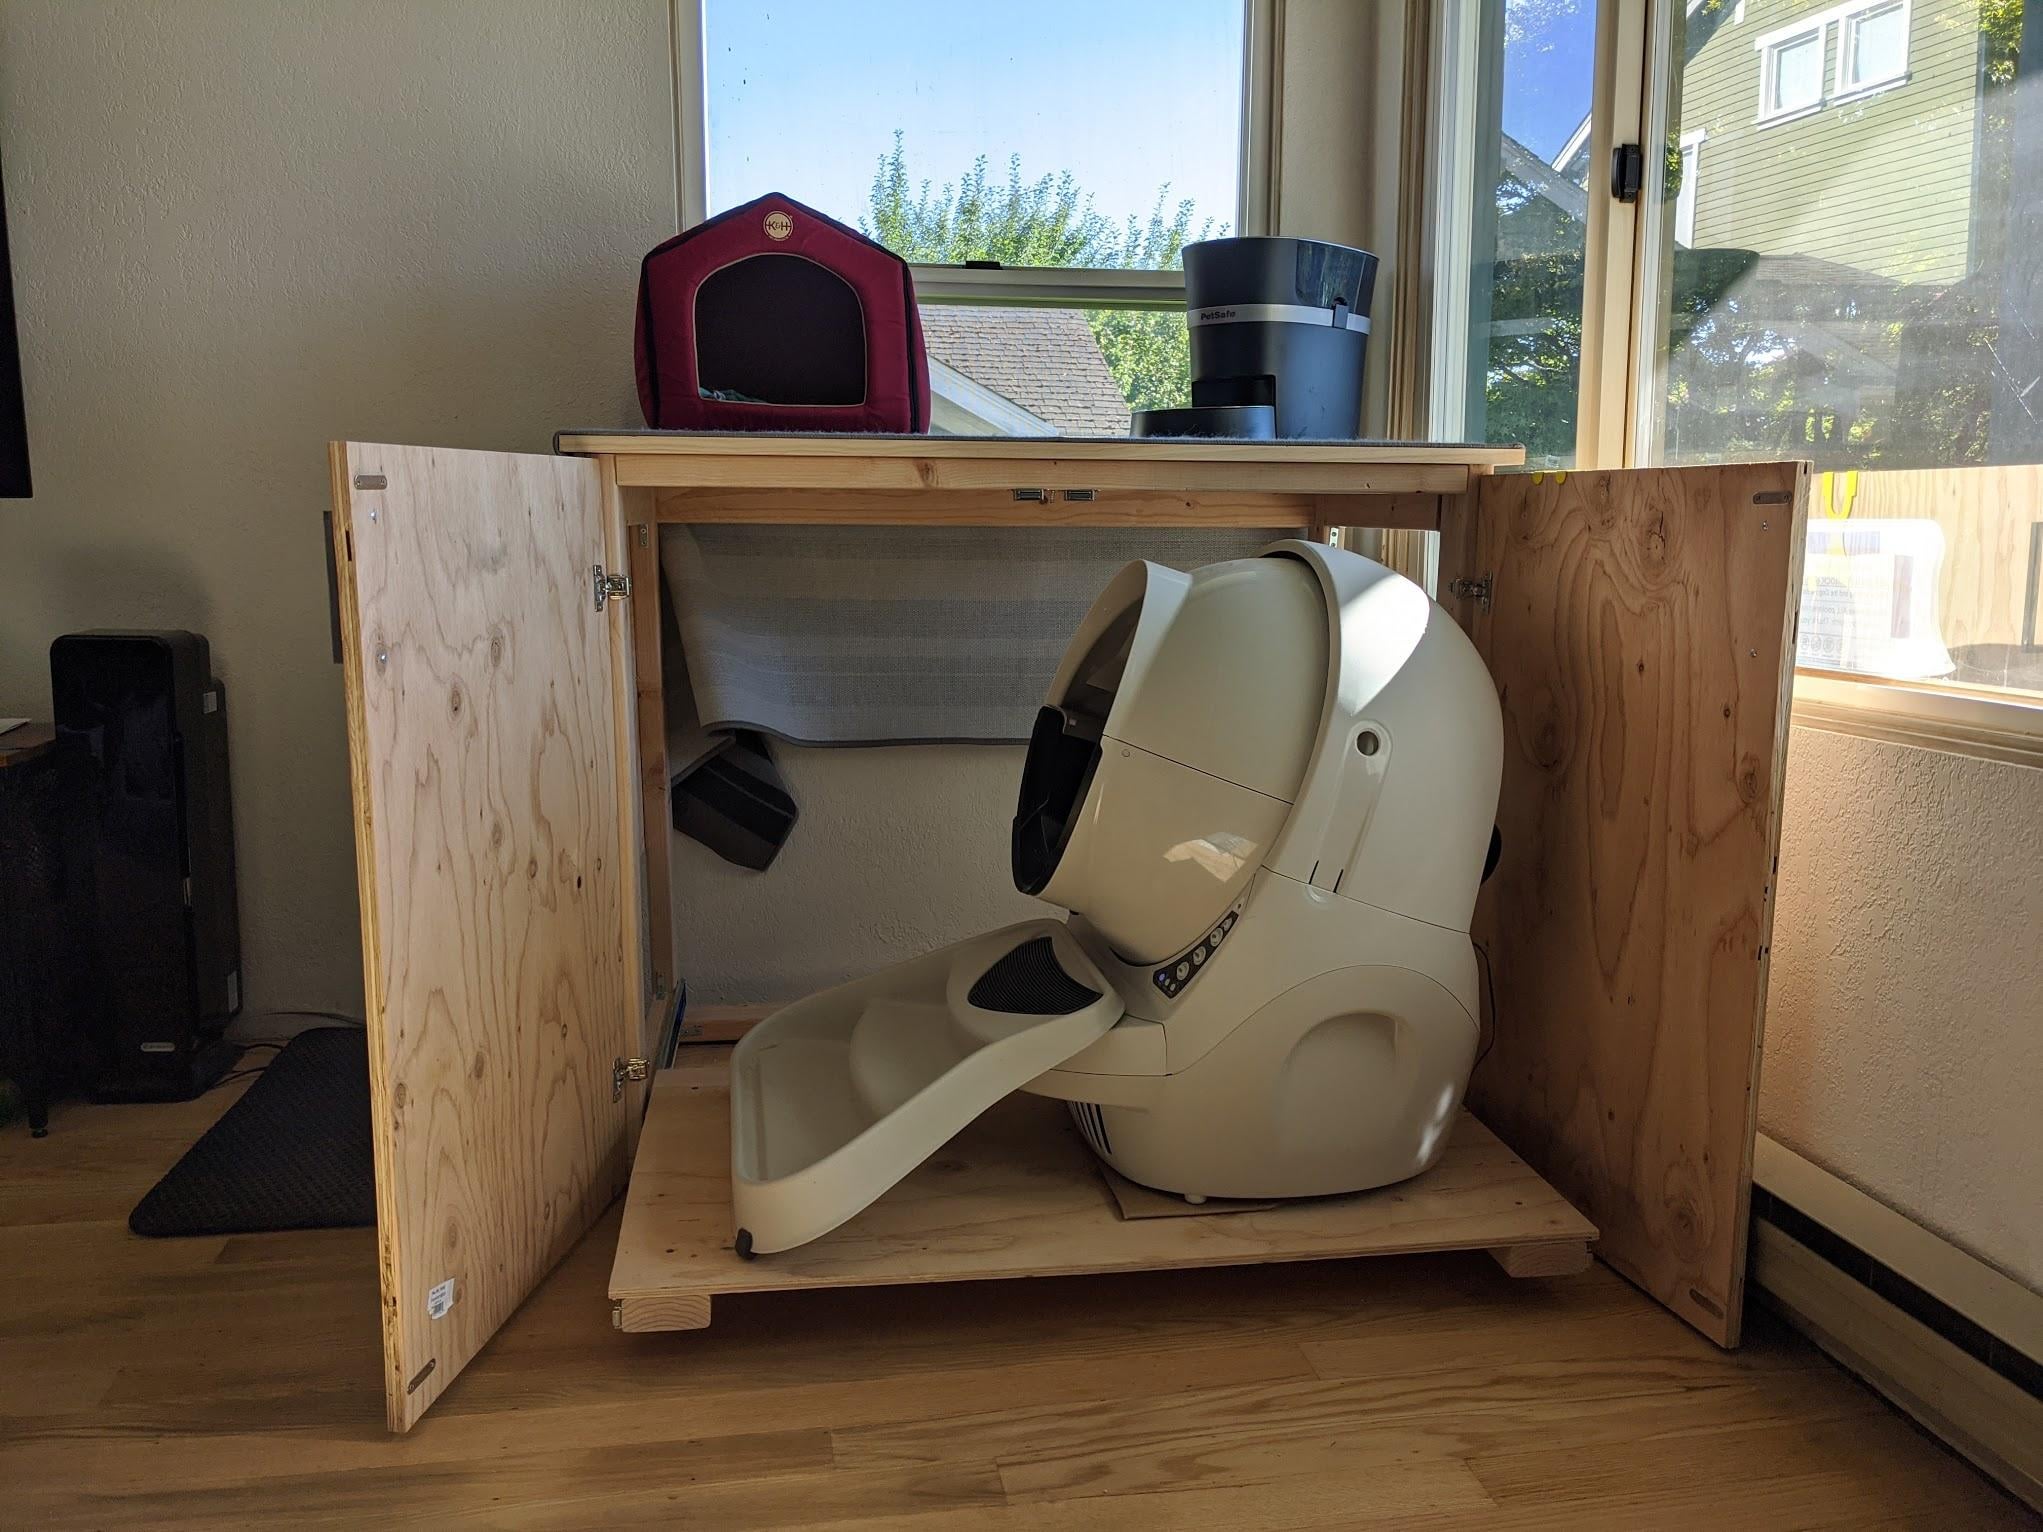
Choose colors and materials that match your home. You can use wood, metal, or plastic. Add some paint or stickers for fun. Consider adding shelves or drawers. This gives you space for litter and cleaning supplies. Make sure your design is both stylish and functional. Personal touches make your cabinet unique.

Credit: www.reddit.com
Building The Frame
Start by gathering all the necessary tools. Measure the wood pieces carefully. Use a saw to cut the wood. Ensure the cuts are straight and accurate. This will help later during assembly. Sand the edges of the wood. Smooth edges make assembly easier. Double-check your measurements before cutting. This saves time and wood.
Lay out all your cut wood pieces. Check if they fit together well. Use wood glue on the edges. Press the pieces together firmly. Let the glue dry. Use screws or nails to secure the wood. This adds strength to the frame. Ensure the frame is square. Use a carpenter’s square to check. Make adjustments if needed. Tighten all screws. Your frame is now ready.
Creating Access Points
Pets need easy access to the Litter Robot. Create large enough openings for them. Make sure they can enter and exit without trouble. Smooth the edges to avoid injuries. Proper openings help pets feel safe and comfortable.
Maintenance is important for a clean environment. Add a door for cleaning and repair. It should be easy to open and close. Make sure it is big enough for your hand and tools. Regular checks keep the area clean and fresh.
Adding Finishing Touches
Painting or staining your cabinet can make it look much better. Choose a color that matches your room. Use a brush for small areas and a roller for large areas. Let each coat dry before adding another.
Staining can give the wood a natural look. Apply the stain with a cloth or brush. Wipe off any extra stain. Let it dry fully before using the cabinet.
Decorative hardware adds style to your cabinet. Choose knobs or handles that fit your taste. Measure and mark where to place the hardware. Use a drill to make holes. Attach the knobs or handles with screws.
Check to make sure everything is tight. Decorative hardware can make your cabinet look fancy. It also makes the cabinet easier to use.
Integrating The Litter Robot
Make sure the cabinet is big enough for your Litter Robot. Measure the height, width, and depth. The unit needs some extra space for air circulation. This helps it work well. If the fit is too tight, it may cause problems. Always double-check your measurements.
Place the Litter Robot inside the cabinet carefully. Make sure it sits firmly on the base. Use brackets or straps to secure it. This keeps the unit from moving. A stable unit works better and lasts longer. Check the power cord. Ensure it is not pinched or twisted.
Maintaining Your Cabinet
Clean your cabinet often to keep it looking good. Use a damp cloth to wipe away dust. Avoid using harsh chemicals. They can damage the surface. For tough spots, use a mild soap and water mix. Dry the cabinet well after cleaning. This prevents water damage. Check for dirt in corners. A small brush can help clean these areas. A well-maintained cabinet lasts longer.
Inspect your cabinet for any loose parts. Tighten screws if needed. Check hinges to make sure they work well. If a hinge is broken, replace it. Look for scratches or dents. Sand them lightly and repaint if needed. Keep the cabinet dry to avoid mold. Regular upkeep helps keep your cabinet in top shape.
Showcasing Your Finished Project
Build a custom Litter Robot Cabinet to hide your litter box in style. Create a unique piece that blends with your home decor.
Photography Tips
Use natural light for clear, bright photos. Avoid harsh shadows. Place your litter robot cabinet near a window. Take photos from different angles. Capture both close-up and wide shots. Show off the details and the whole piece. Keep your background simple. A plain wall works best. Clean the area around your project. This makes your cabinet stand out. Use a tripod to avoid blurry images. Steady hands help too. Edit your photos for better quality. Adjust brightness and contrast. This makes your cabinet look its best.
Sharing On Social Media
Post your photos on social media. Write a short description. Explain the process in simple words. Share why you made the cabinet. Tag relevant groups or pages. This helps reach more people. Respond to comments and questions. Engage with your audience. This builds a community. Use simple language. Keep it short and clear. Share progress photos too. People enjoy seeing the steps. Invite others to share their projects. This creates a friendly space.

Credit: www.reddit.com
Frequently Asked Questions
What Materials Do I Need For A Litter Robot Cabinet?
To build a Litter Robot cabinet, you’ll need plywood, screws, hinges, a saw, a drill, and paint. These materials will help you create a sturdy and functional cabinet for your Litter Robot.
How Do I Measure For The Cabinet?
Measure the height, width, and depth of your Litter Robot. Ensure to leave extra space for ventilation and accessibility. Accurate measurements ensure a perfect fit for your cabinet.
Can I Add Storage To My Litter Robot Cabinet?
Yes, you can add storage compartments above or beside the Litter Robot. These compartments can store litter, cleaning supplies, and other pet-related items, making the cabinet multifunctional.
How Do I Ventilate The Litter Robot Cabinet?
Drill ventilation holes or install a small fan in the cabinet. Proper ventilation prevents odor buildup and ensures the Litter Robot operates efficiently. Good airflow is essential for maintaining a fresh environment.
Conclusion
Building a Litter Robot cabinet yourself can be a rewarding project. It keeps your space tidy and gives your cat a private area. Plus, you can customize it to fit your style. Remember to measure your robot and space carefully.
Gather all needed materials before starting. Follow step-by-step instructions for a smooth build. Enjoy the satisfaction of creating something useful. Happy building!