Building a DIY robot that walks using a gear motor is a fun project. It brings together creativity, engineering, and problem-solving.
Imagine creating a small robot at home that can move on its own. Using basic materials and a gear motor, you can make a simple robot walk. This project is perfect for hobbyists and beginners interested in robotics. It doesn’t require advanced skills, just some patience and curiosity.
By the end of this guide, you’ll have a walking robot and a better understanding of how gear motors work. Ready to dive into the world of DIY robotics? Let’s get started!

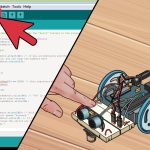
Credit: makezine.com
Understanding Gear Motors
A gear motor combines a motor and a gearbox. It helps control speed and torque. Gear motors are used in many machines. They are important in robots. Gear motors make robots move smoothly. They are found in toys, cars, and even factories. They are small but powerful. With gear motors, you can build amazing things.
Inside a gear motor, gears mesh together. This reduces the motor’s speed. It also increases the force or torque. Electricity powers the motor. The motor turns the first gear. This gear turns the next one. Each gear changes speed and force. The final gear moves the robot’s parts. This process makes movement smooth and controlled. Gear motors are reliable. They are easy to use in projects. You can create moving robots with them.
Designing The Robot
First, decide how big your robot should be. Think about what materials you’ll use. Common materials include cardboard and plastic. Gather all necessary tools. You’ll need scissors, glue, and a ruler. Make sure everything is ready before starting.
Draw a simple sketch of your robot. This will guide you during building. Show where the gear motor will go. Mark where the legs will attach. Keep the design simple. Make sure you understand each part of the drawing. This helps avoid mistakes.
Building The Frame
First, gather your materials. Use light wood or plastic. These are easy to cut. Measure and mark the pieces. Use a ruler for straight lines. Cut with a small saw or knife. Be careful not to rush. Sand the edges to make them smooth. Now, your parts are ready.
Lay out the parts. Check the fit before gluing. Apply glue to the joints. Press the pieces together. Hold until the glue sets. Use clamps if needed. Let the glue dry completely. Now the frame is sturdy. It’s ready for the gear motor.
Installing The Gear Motor
First, find a spot on your robot for the motor. Use screws to secure it tightly. Make sure the motor is in a stable position. Double-check the alignment. This ensures the robot walks straight. A secure mount is crucial. It prevents the motor from shaking.
Connect the motor wires to the power source. Use a battery pack for this. Red wire goes to the positive terminal. Black wire goes to the negative terminal. Ensure the connections are tight. Loose wires can cause problems. You can use electrical tape to secure them. Check the connections again. Turn on the power to test the motor.
Attaching The Legs
Start with two sturdy sticks. These will be the robot’s legs. Make sure they are the same length. Attach small wheels or rubber pads at the bottom. This will help the robot walk smoothly. You can use glue or small screws to secure them. The legs should be lightweight. Heavy legs will make walking hard for the robot.
Place the gear motor between the legs. Use strong tape or brackets to attach it. Make sure the motor can turn freely. Connect the motor to a battery. This will power the robot. Attach the motor arms to the legs. The arms should move the legs back and forth. Test the movement. Adjust if needed. The robot should walk smoothly.
Testing And Troubleshooting
Building a DIY robot walking with a gear motor involves careful testing and troubleshooting. Check connections and adjust gears for smooth movement.
Initial Test Run
Begin by turning on the robot. Check if the gear motor runs smoothly. Listen for any strange sounds. Look for any unusual movements. If the robot walks straight, your initial setup is correct. If not, you may need to adjust the gears or motor position.
Common Issues And Fixes
Sometimes, the robot may not move at all. This can be due to loose wires. Ensure all connections are tight. Another common issue is jerky movements. This might be because of a low battery. Replace or recharge the battery. If the robot still struggles, check the gear alignment. Misaligned gears can cause problems. Adjust them as needed.
Final Touches
Your robot can look cool with some paint. Bright colors can make it fun. You can add stickers too. Eyes and a smile make it friendly. Small details like buttons or clothes make it unique.
Ensure the robot stands well. Check the legs are even. The robot should not fall. You can add weight to the feet. This helps balance. Test it on different surfaces.

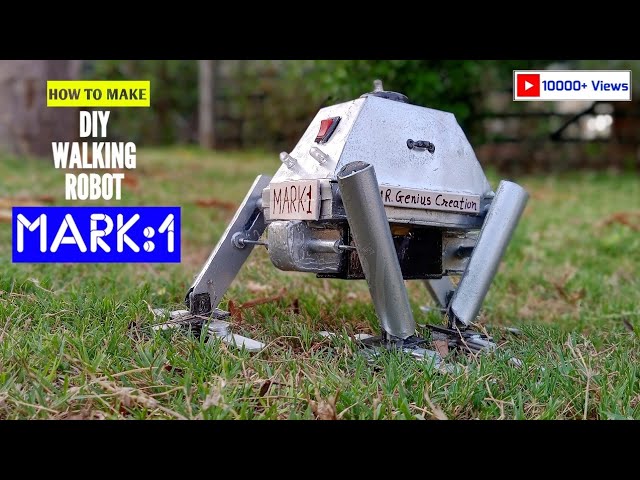
Credit: www.youtube.com
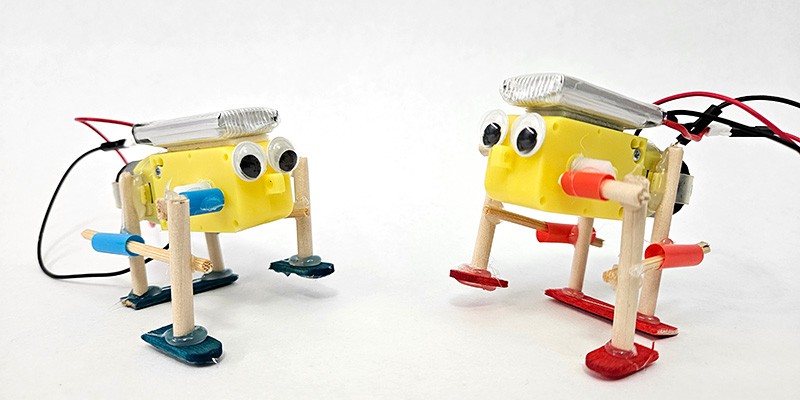
Credit: www.sciencebuddies.org
Frequently Asked Questions
How To Build A Robot With Gear Motors?
Building a robot with gear motors involves selecting components, assembling parts, and wiring correctly. Use a microcontroller to program movements.
What Materials Are Needed For A Diy Walking Robot?
Essential materials include gear motors, a microcontroller, batteries, wires, and mechanical parts like legs and chassis.
How Do Gear Motors Work In Robots?
Gear motors convert electrical energy into mechanical motion. They provide torque and control for robotic movements.
Can Beginners Build A Walking Robot?
Yes, beginners can build a walking robot by following detailed guides and using beginner-friendly kits and components.
Conclusion
Building a DIY robot with a gear motor can be fun and educational. It teaches basic mechanics and electronics. You gain hands-on experience and problem-solving skills. This project is simple and ideal for beginners. Plus, it’s a great way to spend quality time.
Create, experiment, and learn with your gear motor robot. Start your journey into robotics today. Enjoy the process and embrace the challenge. Happy building!