Building an AI robot might seem daunting. But with the right steps, it’s achievable.
AI robots are revolutionizing many fields today. They assist in tasks, learn from data, and even make decisions. For beginners, How to Make an Ai Robot Step by Step can be both exciting and overwhelming. But don’t worry. This guide will break down the process into simple steps.
From understanding the basics of AI to programming and building the physical robot, we’ll cover it all. By the end, you’ll have a clear pathway to how to make an Ai robot step by step.Ready to dive in? Let’s get started!
Setting Goals
Setting goals is crucial for creating an AI robot. Clear goals guide the project and ensure success. Let’s break down the process of how to make an Ai robot step by step.
Defining Purpose
First, define the purpose of your AI robot. What tasks should it perform? Understanding its role helps in planning its features. For example, will it assist in daily chores or help with education? Knowing its purpose will shape its design and functionality.
Identifying Key Features
Next, identify the key features of your AI robot. What abilities must it have? List the essential features that align with its purpose. For instance, if the robot will clean, it needs sensors to detect dirt. If it will teach, it needs speech recognition. Prioritize these features to stay focused on what’s important. This step ensures the robot meets your expectations and performs effectively.
Choosing Hardware
Selecting the right hardware is crucial for building an AI robot. Consider the robot’s tasks to choose appropriate components. Ensure compatibility and quality to optimize performance.
When building an AI robot, selecting the right hardware is crucial. The hardware determines the robot’s capabilities and performance. This section will guide you through selecting essential components for your AI robot.
Selecting A Microcontroller
The microcontroller acts as the brain of your AI robot. It processes data and controls various functions. Popular choices include Arduino and Raspberry Pi. Arduino is user-friendly and great for beginners. Raspberry Pi offers more power for complex tasks. Choose based on your project needs and your coding skills.
Choosing Sensors And Actuators
Sensors and actuators are vital for your AI robot. Sensors gather data from the environment. Common sensors include ultrasonic, infrared, and cameras. Actuators allow the robot to move and interact. These include motors, servos, and robotic arms. Select sensors and actuators that match your robot’s tasks. This ensures your robot can see, hear, and move efficiently.
Software Development
Creating an AI robot involves both hardware and software development. The software part is crucial. It brings your robot to life. Let’s explore the important steps in software development.
Programming Languages
Choosing the right programming language is essential. Python is popular for AI projects. It’s easy to learn and has many libraries. JavaScript can be used for web-based robots. C++ is great for performance-intensive tasks. Each language has its strengths. Select one based on your project needs.
Ai And Machine Learning Models
AI models make your robot smart. Machine learning helps the robot learn from data. Start with simple models. Use libraries like TensorFlow or PyTorch. These tools simplify the process. Train your robot with relevant data. The more data, the better it learns. Test the models to ensure accuracy. Fine-tune them as needed. This step is iterative. Keep improving the model.

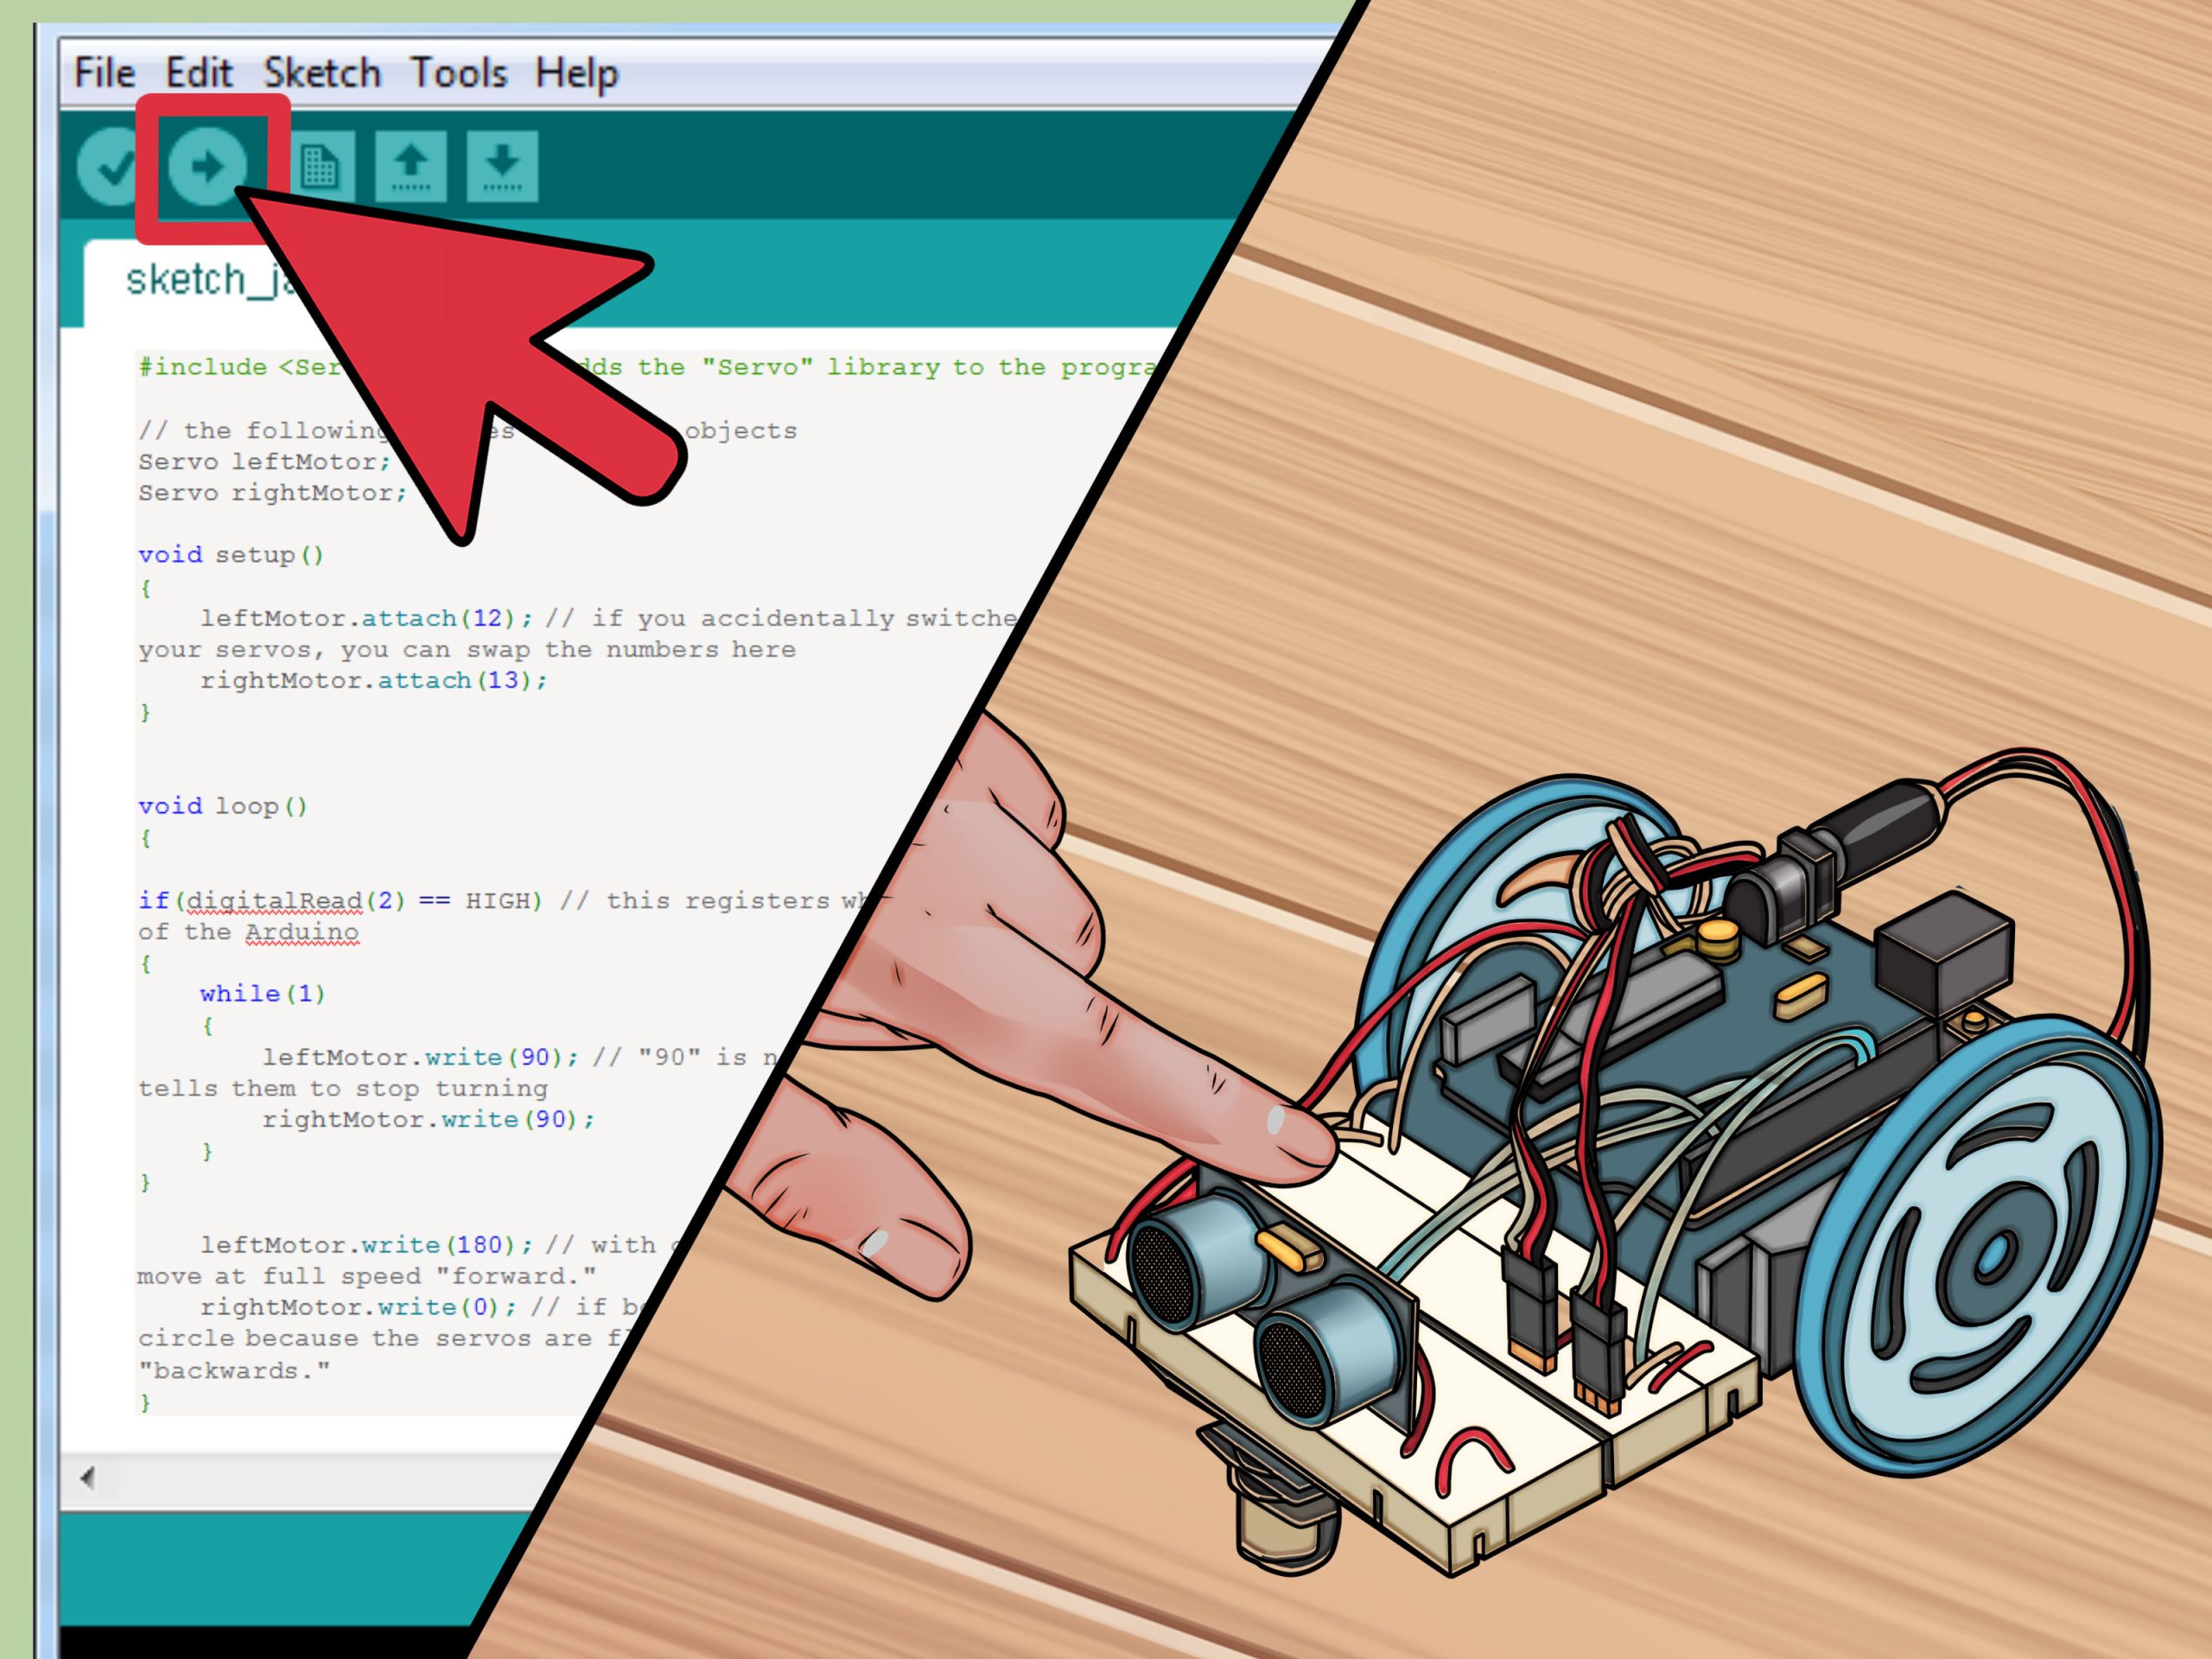
Credit: www.jetlearn.com
Building The Body
Creating a robot starts with its body. This is the physical structure. It holds all the components. The body needs to be strong. It must also be flexible. Follow these steps to build your robot’s body.
Designing The Frame
First, plan your robot’s frame. The frame gives the robot its shape. Use materials like metal or plastic. Draw a sketch of your design. Consider the size and weight of your robot. The frame must support all parts.
- Sketch the design.
- Choose the right materials.
- Ensure the frame can hold all components.
After planning, start building. Cut the materials to the right size. Assemble the pieces. Ensure the frame is stable.
Assembling Components
Next, add the components to the frame. These include motors, sensors, and circuits. Place each part in its position. Secure them well. Use screws, bolts, and glue. Connect the parts with wires.
- Place motors in the frame.
- Add sensors and cameras.
- Install the circuit board.
Check each connection. Make sure everything is tight. Loose connections can cause problems. Test the body for stability. Make adjustments if needed.
| Component | Function | Placement |
|---|---|---|
| Motors | Movement | Inside the frame |
| Sensors | Detect environment | Front and sides |
| Circuit Board | Control center | Central part of the frame |
By following these steps, you can build a strong robot body. This is the foundation for your robot’s functions.
Integrating Hardware And Software
Creating an AI robot involves both hardware and software integration. This step ensures your robot can interact with the environment. It enables the robot to process data and make decisions. This section will guide you through the integration process. We will cover connecting sensors and implementing control systems.
Connecting Sensors
Sensors are the eyes and ears of your AI robot. They gather data from the environment. Connecting them correctly is crucial for accurate data collection. Follow these steps to connect sensors:
- Identify the types of sensors you need. Common types include ultrasonic, infrared, and temperature sensors.
- Connect sensors to your microcontroller. Use the appropriate pins and connectors.
- Verify connections with a multimeter. Ensure there is no short circuit.
- Write code to read sensor data. Use libraries specific to each sensor.
Properly connected sensors provide reliable data. This data is vital for the robot’s decision-making process.
Implementing Control Systems
Control systems manage the robot’s actions. They process sensor data and trigger responses. Implementing control systems involves several steps:
- Choose a suitable microcontroller. Popular choices are Arduino and Raspberry Pi.
- Install the necessary software. This includes the microcontroller’s IDE and libraries.
- Write control algorithms. These algorithms process sensor data and control actuators.
- Test the control system. Ensure it responds correctly to sensor inputs.
Control systems ensure your robot acts intelligently. They translate data into actions. This makes the robot interactive and autonomous.
Testing And Debugging
Testing and debugging are critical steps in building an AI robot. These steps help ensure that your robot functions correctly and meets your expectations. This section will guide you through initial tests, as well as troubleshooting common issues.
Initial Tests
The initial tests are essential to check if the AI robot’s basic functions work. Start by verifying the robot’s power supply and connections. Ensure all sensors and actuators are properly connected. Then, run simple commands to see if the robot responds as expected.
- Check power supply and connections.
- Verify sensor and actuator connections.
- Run basic movement commands.
Next, test the AI algorithms. Run scenarios to see if the robot can make basic decisions. For example, if the robot has obstacle detection, place an object in front of it. Check if it stops or changes direction.
Record the results of these initial tests. Note any issues or unexpected behavior. This information will be useful for the next step.
Troubleshooting Common Issues
Troubleshooting is about identifying and fixing problems. Here are some common issues and their solutions:
| Issue | Possible Cause | Solution |
|---|---|---|
| Robot not powering on | Battery or power supply issue | Check connections and replace battery if needed |
| Sensors not responding | Loose or incorrect connections | Check and secure sensor connections |
| Actuators not moving | Motor driver issue | Check motor driver and connections |
| AI algorithm errors | Code bugs | Debug the code and fix errors |
To solve more complex issues, use debugging tools. These tools help you find and fix code errors. Some useful tools are:
- Print statements: Track variable values.
- Debuggers: Step through code line by line.
- Logs: Record events and errors for analysis.
Regularly update your robot’s software. This ensures you have the latest bug fixes and improvements. Keep a detailed log of all changes made during debugging.
In summary, testing and debugging are crucial for a functional AI robot. Follow these steps to identify and fix issues efficiently.
Final Touches
Once you have built your AI robot, it’s time to add the final touches. This stage is crucial to ensure your robot performs effectively and safely. Pay attention to enhancing its functionality and ensuring its safety. These steps will help in making how to make an Ai robot step by step.
Enhancing Functionality
Improve the robot’s sensors for better performance. High-quality sensors help the robot understand its environment. They allow it to react accurately. Update the software regularly. New updates often fix bugs and add useful features. Test the robot in real-world scenarios. Real-world testing helps identify areas for improvement.
Consider adding voice recognition. This feature makes interaction easier. Users can give commands through speech. Add more motion capabilities. Enhance the robot’s movement range. This makes it more versatile.
Ensuring Safety
Safety is paramount. Check all connections. Loose wires can cause malfunctions. Secure them properly. Install safety protocols. These prevent the robot from causing harm. Program emergency shutdown features. These allow users to turn off the robot quickly if something goes wrong.
Use non-toxic materials. Ensure the robot’s parts are safe to touch. Avoid sharp edges. They can cause injuries. Test the robot in various conditions. This ensures it works safely in different environments.

Credit: www.youtube.com
Future Improvements
Building an AI robot is just the beginning. There is always room for improvement. By upgrading hardware and improving AI capabilities, you can make your robot more efficient and smarter.
Upgrading Hardware
Improving your robot’s hardware can make a big difference. Start by upgrading the processor for faster computations. A better processor means your robot can handle more tasks at once.
Consider adding more sensors. Extra sensors help your robot understand its environment better. For example, adding a camera can enable vision-based tasks.
Battery life is crucial. A longer-lasting battery allows your robot to work longer without charging. Look for batteries with higher capacity and efficiency.
Improving Ai Capabilities
Enhancing AI capabilities makes your robot smarter. Start with better algorithms. Machine learning algorithms can help your robot learn from data and improve its actions.
Consider training your AI on more data. The more data it has, the better it can understand different situations. This leads to improved decision-making.
Natural language processing (NLP) can be another improvement. With NLP, your robot can understand and respond to human language. This makes it more interactive and user-friendly.
Credit: www.youtube.com
Frequently Asked Questions
What Materials Do I Need To Build An Ai Robot?
To build an AI robot, you’ll need microcontrollers, sensors, motors, power supply, and AI software. Additionally, tools for assembling and programming the robot are essential.
How Do I Program An Ai Robot?
To program an AI robot, you need coding skills in languages like Python. Use AI frameworks and libraries to implement machine learning algorithms.
Can Beginners Build An Ai Robot?
Yes, beginners can build an AI robot by following step-by-step guides. Start with simple projects and gradually move to advanced ones.
What Are Common Challenges In Building Ai Robots?
Common challenges include hardware compatibility, software integration, and debugging. Ensuring accurate sensor data and efficient power management are also crucial.
Conclusion
Creating an AI robot step by step is exciting and rewarding. Follow each step carefully. Learn the basics of how to make an Ai robot step by step. Practice consistently to improve your skills. Experiment with different components and software. Stay patient and curious throughout the process.
Share your progress with others. Seek help from online communities if needed. Enjoy the journey of building your own AI robot. It’s a great way to learn and innovate. Keep exploring new ideas and techniques. Happy building!